driving.scenario.truckMesh
Mesh representation of truck in driving scenario
Description
vehicleMesh = driving.scenario.truckMeshextendedObjectMesh object,
mesh.
Examples
Add the prebuilt truck mesh to a driving scenario to generate a point cloud. Then, use lidarPointCloudGenerator System object™ to generate a point cloud of the truck mesh.
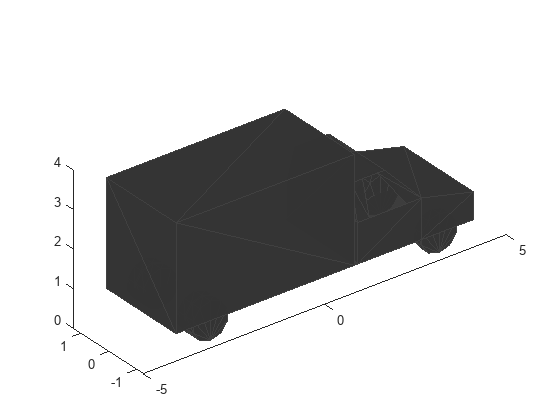
Create and show the prebuilt truck mesh.
mesh = driving.scenario.truckMesh;
egoMesh = driving.scenario.carMesh;
show(mesh);
pause(1);
Create a driving scenario.
s = drivingScenario;
Add a straight road to the driving scenario. The road has one lane in each direction.
road(s,[0 0 0; 30 0 0],'Lanes',lanespec([1 1]));Add a car as the ego vehicle and a truck as a non-ego actor.
egoVehicle = vehicle(s,'ClassID',1,'Mesh',egoMesh);
smoothTrajectory(egoVehicle,[1 -2 0; 21.3 -2 0],20);
truck = vehicle(s,'Position',[15 2 0],'Yaw',180,'ClassID',2,'Mesh',mesh);
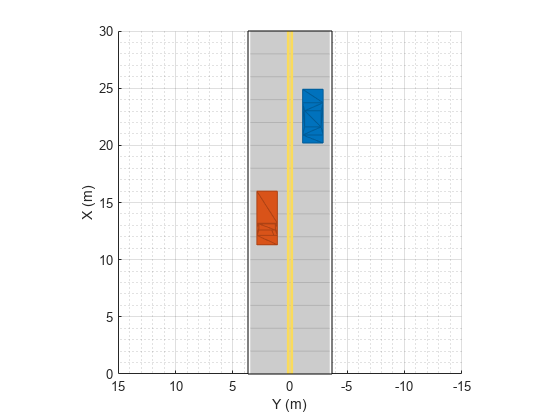
Plot the driving scenario. Set name-value pair 'Meshes','on' to show the meshes of the actors in the plot.
plot(s,'Meshes','on');
Create a lidarPointCloudGenerator System object. Set the actor profiles of the System object to those in the driving scenario.
lidar = lidarPointCloudGenerator;
lidar.ActorProfiles = actorProfiles(s);
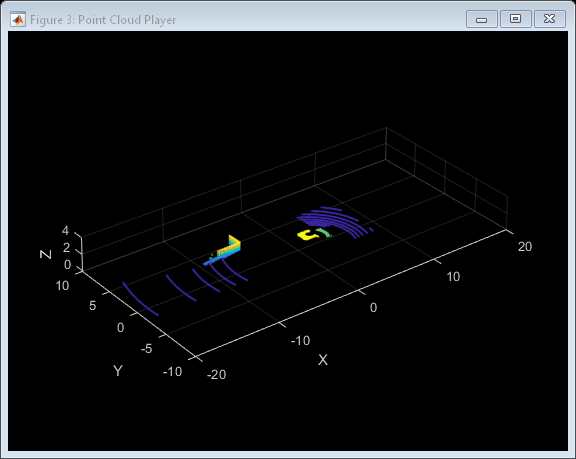
Generate a lidar point cloud of the driving scenario.
player = pcplayer([-20 20],[-10 10],[0 4]);
while advance(s)
 tgts = targetPoses(egoVehicle);
 rdmesh = roadMesh(egoVehicle);
 [ptCloud,isValidTime] = lidar(tgts,rdmesh,s.SimulationTime);
    if isValidTime
    view(player,ptCloud);
    end
end
Output Arguments
Version History
Introduced in R2020a