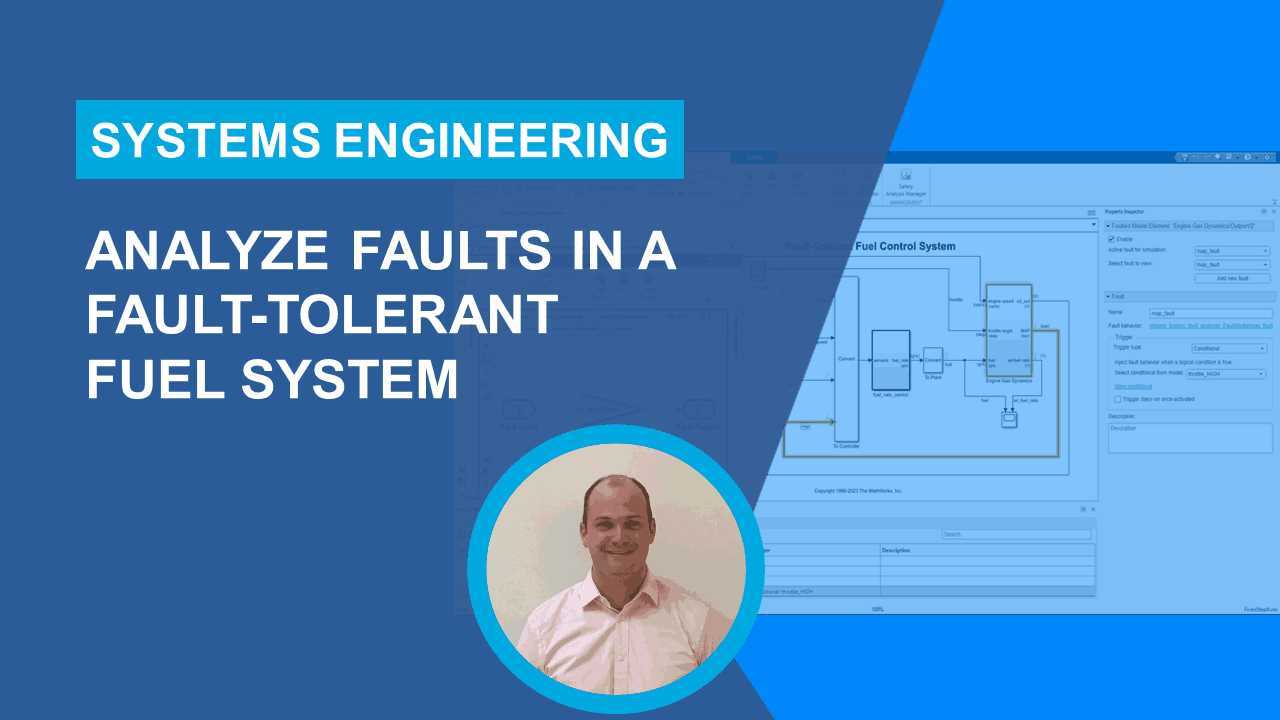
Simulink Fault Analyzer Essentials, Part 5: Analyze Faults in a Fault-Tolerant Fuel System
From the series: Simulink Fault Analyzer Essentials
Learn how to use Simulink Fault Analyzer™ to model faults, measure fault effects, and perform a systematic FMEA by leveraging simulation results on a fault-tolerant fuel system.
Published: 23 Aug 2023
Hi, everyone. This is Pat from the Simulink fault analyzer team. In this video, I'm going to show you how to use Simulink fault analyzer to model faults, measure fault effects, and perform a systematic FMEA by leveraging simulation results.
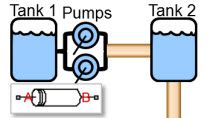
I'll be walking through one of our shipping examples, evaluate fault combinations on a fault tolerant fuel system. Feel free to open the example using the link below to follow along. I'll be adding a few tips and tricks as I go. First, let's open the model. This model includes a fulel rate control subsystem which determines the fuel rate going into the engine gas dynamics plant model.
Let's open the fill rate control subsystem to take a closer look. Now let's open the control logic state flow state chart. This state chart includes some fault detection logic and fault mitigation logic, which changes the fuel mode depending on the number of sensor failures. Let's log the fuel mode and simulate the model with nominal behavior to see what happens.
Let's open the simulation data inspector. In nominal conditions, we would expect to see fuel mode be commanded to low. Let's inject some false to see what happens when sensors start to fail. First, let's open the fault analyzer app from the Simulink tool strip. At the bottom of the window, we have the fault table. The fault table is designed to help you configure a fault simulation. You can enable the model elements and activate false.
Wait a minute. Enable and activate? Let's take a step back and talk about faults for a minute. When I say fault, I am referring to any abnormal behavior you want to simulate. In most cases, you want to override the behavior of a signal during simulation. I like to think of a fault as having three properties.
The where, which is the location of the signal you want to override. These are defined as model elements such as a block import or outpour. The what, which is the abnormal behavior you want to inject on the signal. This is modeled in a separate file we call a fault model. Finally, the when. You can inject a fault at the beginning of simulation, after a given simulation time, or based on a system condition.
If you combine all three, you have an instance of a fault. For any given model element, the where, you can have any number of associated faults with their own behavior and trigger settings. However, only one fault per model element can be active during a given simulation. Model elements are enabled. Faults are activated.
Now that we've covered the basics, let's go back to the fault table. This example model has three faults associated with two different model elements. I can view the properties for any fault by clicking on its row in the fault table. In this case, two of the faults have timed triggers. One will be triggered at 5 seconds, another at 10 seconds. The other has what we call a conditional trigger.
In simple terms, a conditional is a system condition of interest. This example is fairly simple. I want to inject a fault on the manifold pressure signal if throttle is high, but what does that mean? Let's open the Conditional tab in the fault table and view the properties of this throttle high conditional. The conditional is its own object in MATLAB with its own condition expression.
In this case, it will be true if throttle is greater than 18, which I determine, based on the nominal behavior simulation. The throttle symbol in the condition expression has been mapped to a model element corresponding to the throttle signal. Conditionals can also be logged during simulation, which can be handy if you want to know when a trigger condition was true or if some other system condition of interest is true, such as a hazard.
Let's simulate the exhaust gas sensor fault, or ego sensor fault, which has a time trigger set to 5 seconds. Let's open the simulation data inspector. As expected, fuel mode changed from low to rich and the presence of the fault, which is automatically logged.
What if you wanted a time file to be triggered off after a given duration? You can use the reserved symbol T corresponding to simulation time in a condition expression to define a trigger for a time fault which stops after a specified duration. Let's create a new conditional called short timed, which is true between 5 and 10 seconds of simulation time.
Now let's change the trigger for the ego_fault to use this new conditional and simulate. Wow. That was useful. Let's see what happens if we simulate the conditional triggered manifold pressure fault. Interesting.
Before I get into the next part, I want to mention that everything I've showed you thus far and everything I'm about to show you can be done programmatically using the Simulink vault analyzer APIs. If you want to configure your own fault simulations, I recommend looking into our APIs.
So far, I've showed you how to enable fault simulation, but that's just part of the story. Let's open The Safety Analysis Manager using the button in the fault analyzer tool strip. This example includes a simple FMEA spreadsheet, which is comprised of a table with three columns. Each row of the spreadsheet documents a failure mode, its potential effects, and its detection method.
You can link cells within a spreadsheet to false, model elements, requirements, test cases, and more, but my favorite feature is the Analyze Spreadsheet button. To show you what will happen once I press this button, let's take a look at the callbacks for this spreadsheet.
Each spreadsheet can include a set of callbacks such as Preload and Postload functions, but I want to talk about the Analyze function callback. This is what we run when I click on the Analyze Spreadsheet button. Let's see what is in this callback.
I've written a MATLAB script called validatefuelsysFMEAusingsimulation. Let's take a quick look at that script. The script simulates each failure mode, which is linked to a fault in the model, and determines whether or not the failure mode was appropriately detected.
This is a fairly simple script which leverages some of the APIs for safety analysis manager. For instance, it will find the destination links from the failure mode cell for a given row and then activate the appropriate fault for simulation. The detection method part of the script is fairly simple.
If the detection method is appropriately activated during simulation, that cell will have a green checkmark added to it. Otherwise, it will receive an error flag. By the way you can run the script on its own outside of safety analysis manager to debug it before using it as part of the analyze callback. Let's go back and click on Analyze spreadsheet. All set.
Let's quickly review. In this video, I showed you how to enable and simulate faults and analyze their effects and how to leverage simulation while conducting an FMEA. Check out the example I used using the link below for more information.


Seleccione un país/idioma
Seleccione un país/idioma para obtener contenido traducido, si está disponible, y ver eventos y ofertas de productos y servicios locales. Según su ubicación geográfica, recomendamos que seleccione: United States.
También puede seleccionar uno de estos países/idiomas:
América
- América Latina (Español)
- Canada (English)
- United States (English)
Europa
- Belgium (English)
- Denmark (English)
- Deutschland (Deutsch)
- España (Español)
- Finland (English)
- France (Français)
- Ireland (English)
- Italia (Italiano)
- Luxembourg (English)
- Netherlands (English)
- Norway (English)
- Österreich (Deutsch)
- Portugal (English)
- Sweden (English)
- Switzerland
- United Kingdom (English)